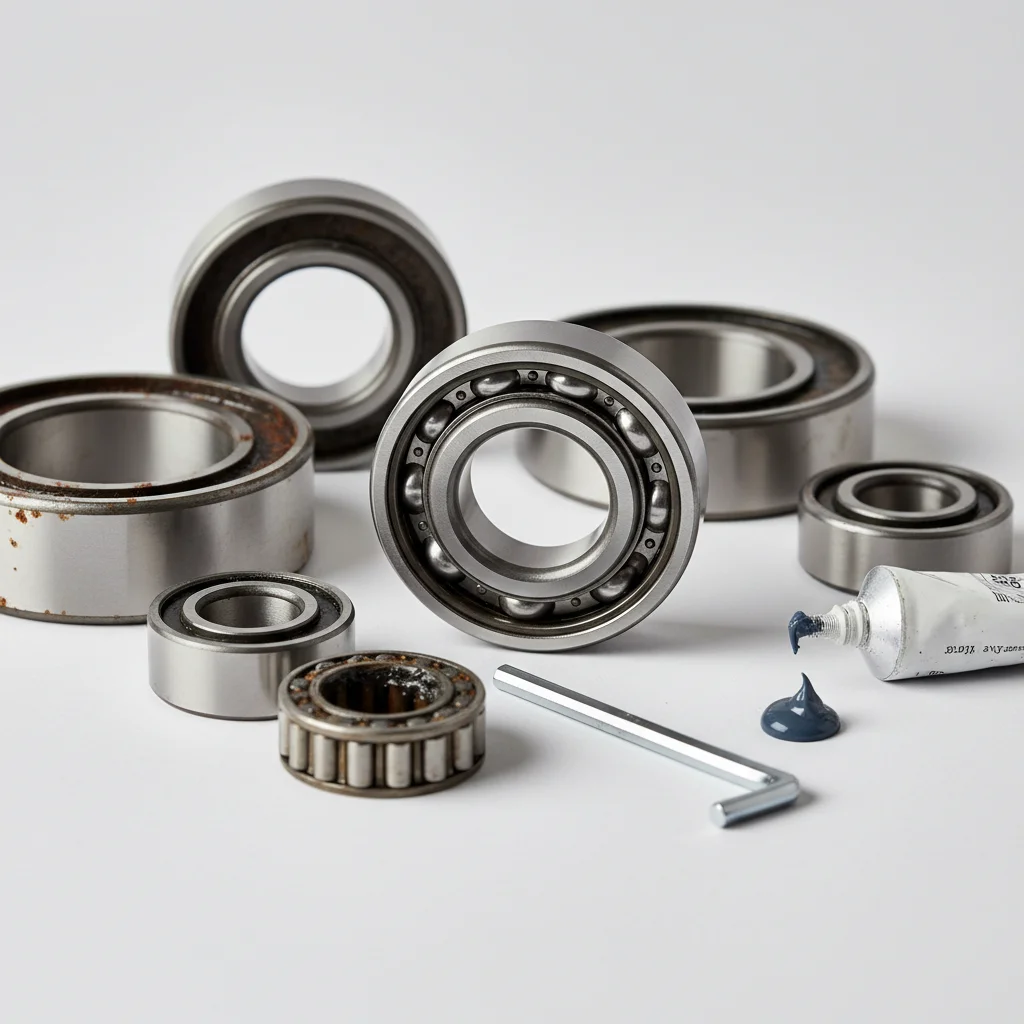
Replacing worn elliptical trainer bearings is a crucial maintenance task that can restore smooth operation and extend the life of your machine. Typically, you should consider replacing bearings every 3-5 years, or sooner if you notice specific signs of wear such as grinding noises or excessive play in moving parts. This guide will walk you through the process, ensuring your elliptical runs as good as new.
Identifying Worn Elliptical Bearings
Before you begin, it’s important to confirm that the bearings are indeed the source of the problem. Common indicators of worn bearings include a persistent grinding or squeaking noise that doesn’t go away with lubrication, excessive wobble or looseness in the pedals or handlebars, and increased resistance during your workout that isn’t related to the machine’s settings. Carefully inspect the pivot points and axles for any visible damage or rust.
Gathering the Right Tools and Replacement Parts
To successfully replace elliptical trainer bearings, you’ll need a few essential tools. These typically include a set of Allen wrenches, a socket wrench set, a screwdriver (Phillips and flathead), a rubber mallet, and possibly a bearing puller if the bearings are press-fit. It’s vital to have the correct replacement bearings for your specific elliptical model. Consult your owner’s manual or the manufacturer’s website to find the exact bearing specifications, including size and type. Having the right parts on hand will prevent delays during the repair process.
- Allen wrench set for various bolt sizes
- Socket wrench set for larger nuts
- Phillips and flathead screwdrivers
- Rubber mallet for gentle tapping
- Bearing puller (if needed for press-fit bearings)
Step-by-Step Bearing Replacement Process
|
Our Picks for the Best Elliptical Trainer in 2026
As an Amazon Associate I earn from qualifying purchases.
|
||
| Num | Product | Action |
|---|---|---|
| 1 | Elliptical Exercise Machine for Apartments and Homes,8 Levels of Magnetic Resistance,15.5-inch Stride Elliptical Machine, and Supports Users up to 400 pounds Elliptical Training Machines; |

|
| 2 | Under Desk Elliptical Machine, Electric Seated Pedal Exerciser, Min Leg Exerciser with Remoter, 12 Level Speeds, Forward & Reverse Direction, Manual & Auto Mode for Home Office |
|
| 3 | Under Desk Elliptical Machine, Electric Elliptical Leg Exerciser for Seniors Fully Assembled, Quiet & Portable Electric Seated Pedal Exerciser with Remote Control & 12 Adjustable Speeds |
|
| 4 | Cubii JR1, Under Desk Elliptical, Under Desk Bike Pedal Exerciser, Seated Elliptical, Work from Home Fitness, Mini Elliptical Machines for Home Use, Cubii Exerciser for Seniors, Desk Exercise |
|
| 5 | Under Desk Elliptical Machine, Electric Elliptical Leg Exerciser While Sitting for Seniors with Upgraded 15 Speeds & 12 Auto Mode, Forward & Reverse Direction, Quiet Portable Seated Pedal Exerciser |
|
| 6 | Under Desk Elliptical Machine, Upgraded 6 Adjustable Resistance &15 Speeds Electric Elliptical Leg Exerciser while Sitting for Seniors with Forward & Reverse Direction, Touch Screen and Remote Control |
|
| 7 | Sunny Health & Fitness Cardio Climber Stepping Elliptical Exercise Machine for Home with 8 Levels of Magnetic Resistance, Performance Monitor, Full Body Workout |
|
| 8 | Under Desk Elliptical Machine, Electric Elliptical as Seen on TV for Seniors Adults with 15 Adjustable Speed, Quiet & Portable Electric Seated Pedal Exerciser with Remote Control & 5 Auto Mode |
|
| 9 | Under Desk Elliptical Machine, Electric Ellipse Leg Exerciser for Senior, Quiet and Compact Electric Seated Pedal Exerciser for Home with Display Monitor, Remote Control and 12 Adjustable Speeds |
|
| 10 | JLL Smart Mini Elliptical – Low-Impact Cardio, Quiet Magnetic Resistance (8 Levels), Compact for Home or Office, LCD Display, Bluetooth SunnyFit App Compatible |
|
The replacement process will vary slightly depending on your elliptical’s design, but the general steps remain consistent. First, unplug the machine for safety. Next, carefully remove any covers or shrouds that obstruct access to the bearings. You’ll then need to unbolt the components attached to the worn bearings, such as pedals, handlebars, or flywheel axles. Use your bearing puller or a suitable tool to gently remove the old bearings. Clean the housing thoroughly before inserting the new bearings. Ensure they are seated correctly and then reassemble the components in reverse order. Test the machine’s movement before fully tightening all bolts.
Tips for Smooth Reassembly and Testing
When reassembling your elliptical, pay close attention to the torque specifications for bolts, if provided in your manual, to avoid over-tightening or under-tightening. Apply a small amount of high-quality grease to the new bearings and moving parts to ensure smooth operation and prevent premature wear. Once everything is reassembled, plug in the machine and perform a slow, controlled test run. Listen for any unusual noises and check for any remaining wobble or resistance. If the issue persists, double-check your work and consult your elliptical’s troubleshooting guide.
Maintaining Your New Bearings for Longevity
To maximize the lifespan of your newly installed bearings, regular maintenance is key. Keep your elliptical clean and free of dust and debris, which can contaminate bearings. Periodically inspect moving parts for any signs of wear or looseness. Lubricate pivot points as recommended by the manufacturer, typically every few months, using a silicone-based lubricant. Proper maintenance not only extends the life of your bearings but also ensures a consistently smooth and effective workout experience. Consider investing in a high-quality maintenance kit for your elliptical to keep all components in top condition.For more advanced bearing types, professional installation might be recommended.
