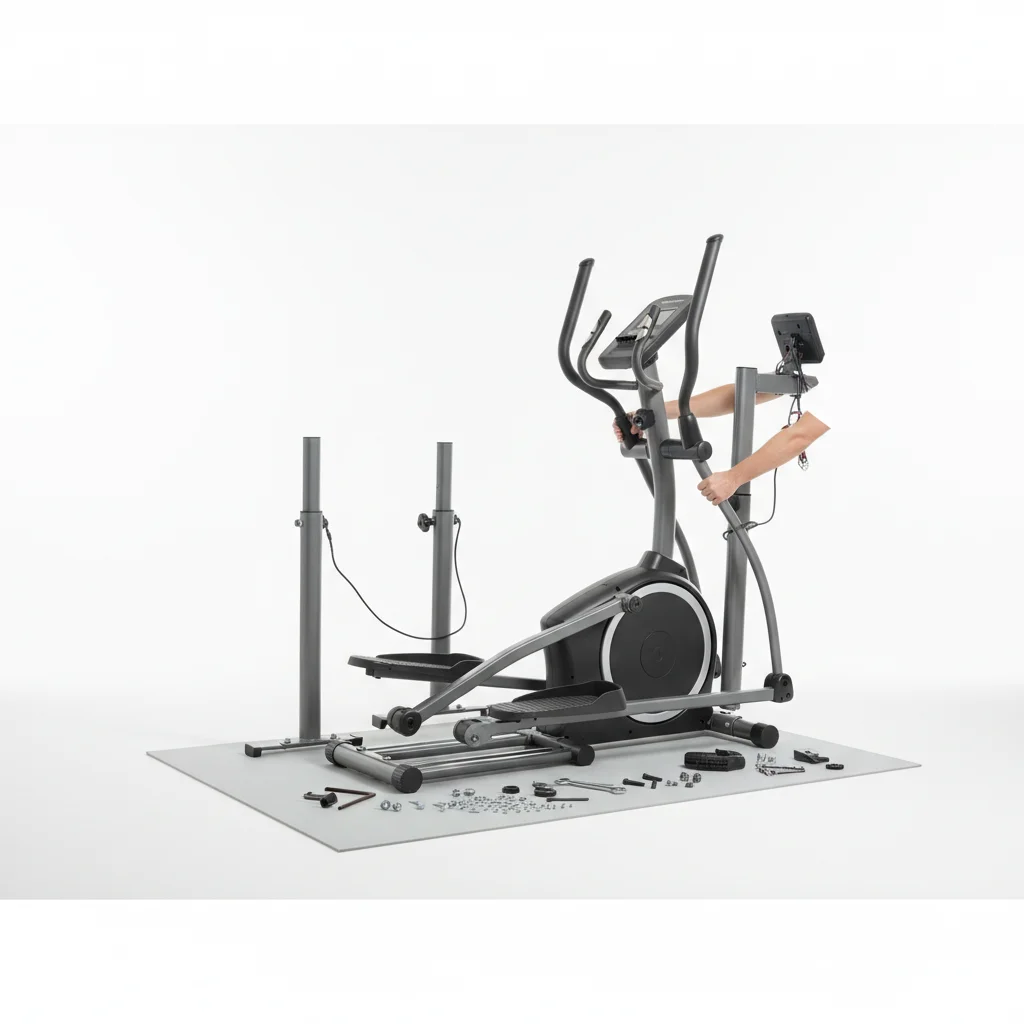
Assembling an elliptical trainer typically requires two people for optimal safety and efficiency, especially when handling heavier components like the main frame and console mast. While some compact models might be manageable with one person, having a second individual significantly reduces the risk of injury and speeds up the process, which generally takes between 1 to 3 hours depending on the model’s complexity.
Why Two People Make Assembly Easier
Many elliptical trainers come with substantial and sometimes awkward components. The main frame, often weighing over 100 pounds, requires careful lifting and positioning. The console mast, while lighter, can be long and difficult to stabilize while attaching wires and securing bolts. A second person can hold parts steady, align holes, and pass tools, transforming a potentially frustrating solo task into a smoother, quicker operation. This is particularly true for larger, commercial-grade ellipticals that feature robust construction and multiple moving parts.
Essential Tools for Elliptical Assembly
Most elliptical trainers include basic tools like Allen wrenches and a simple wrench. However, having your own set of tools can greatly improve the assembly experience. A ratcheting wrench set with various socket sizes, a Phillips head screwdriver, and possibly a rubber mallet can be invaluable. These tools provide better leverage and comfort, making it easier to tighten bolts securely without stripping them. Always refer to your specific model’s manual for a precise list of required tools.
- Ratchet set with appropriate socket sizes
- Phillips head screwdriver
- Adjustable wrench
- Rubber mallet (optional, for gentle tapping)
- Pliers (for cable management)
Common Assembly Challenges and Solutions
|
Our Picks for the Best Elliptical Trainer in 2026
As an Amazon Associate I earn from qualifying purchases.
|
||
| Num | Product | Action |
|---|---|---|
| 1 | Elliptical Exercise Machine for Apartments and Homes,8 Levels of Magnetic Resistance,15.5-inch Stride Elliptical Machine, and Supports Users up to 400 pounds Elliptical Training Machines; |

|
| 2 | Sunny Health & Fitness Cardio Climber Stepping Elliptical Exercise Machine for Home with 8 Levels of Magnetic Resistance, Performance Monitor, Full Body Workout |
|
| 3 | Under Desk Elliptical Machine, Electric Elliptical as Seen on TV for Seniors Adults with 15 Adjustable Speed, Quiet & Portable Electric Seated Pedal Exerciser with Remote Control & 5 Auto Mode |
|
| 4 | Under Desk Elliptical Machine, Electric Elliptical Leg Exerciser for Seniors Fully Assembled, Quiet & Portable Electric Seated Pedal Exerciser with Remote Control & 12 Adjustable Speeds |
|
| 5 | Under Desk Elliptical Machine, Electric Elliptical Leg Exerciser While Sitting for Seniors with Upgraded 15 Speeds & 12 Auto Mode, Forward & Reverse Direction, Quiet Portable Seated Pedal Exerciser |
|
| 6 | Under Desk Elliptical Machine, Electric Seated Pedal Exerciser, Min Leg Exerciser with Remoter, 12 Level Speeds, Forward & Reverse Direction, Manual & Auto Mode for Home Office |
|
| 7 | JLL Smart Mini Elliptical – Low-Impact Cardio, Quiet Magnetic Resistance (8 Levels), Compact for Home or Office, LCD Display, Bluetooth SunnyFit App Compatible |
|
| 8 | Under Desk Elliptical Machine, Upgraded 6 Adjustable Resistance &15 Speeds Electric Elliptical Leg Exerciser while Sitting for Seniors with Forward & Reverse Direction, Touch Screen and Remote Control |
|
| 9 | Under Desk Elliptical Machine, Electric Ellipse Leg Exerciser for Senior, Quiet and Compact Electric Seated Pedal Exerciser for Home with Display Monitor, Remote Control and 12 Adjustable Speeds |
|
| 10 | Cubii JR1, Under Desk Elliptical, Under Desk Bike Pedal Exerciser, Seated Elliptical, Work from Home Fitness, Mini Elliptical Machines for Home Use, Cubii Exerciser for Seniors, Desk Exercise |
|
One frequent challenge during elliptical assembly is connecting the console wires. These wires can be delicate and require careful routing to avoid pinching. Ensure all connectors are fully seated and that no wires are obstructing moving parts. Another common issue is misaligning bolt holes; a second person can help by gently wiggling components into place while the bolts are inserted. If resistance feels off after assembly, double-check all cable connections and ensure the drive belt is properly seated.
For a hassle-free setup, consider purchasing an elliptical that offers professional assembly services. While this adds to the initial cost, it guarantees correct installation and saves you time and effort. Many retailers, including those offering models like the, provide this option. If you’re doing it yourself, allocate enough space and time, and don’t hesitate to re-read the instructions if you encounter difficulties.
Post-Assembly Checks for Optimal Performance
Once your elliptical trainer is fully assembled, perform a series of checks before your first workout. Walk through the full range of motion, listening for any unusual noises like squeaks or grinding. Check that all bolts are tightened securely, but avoid over-tightening, which can strip threads. Ensure the console powers on and all buttons function correctly. Test the resistance levels and any incline features to confirm they adjust smoothly. A thorough check ensures your machine is safe and ready for use, providing a smooth and effective workout experience from day one. For high-quality parts and reliable performance, many users recommend models available through.
