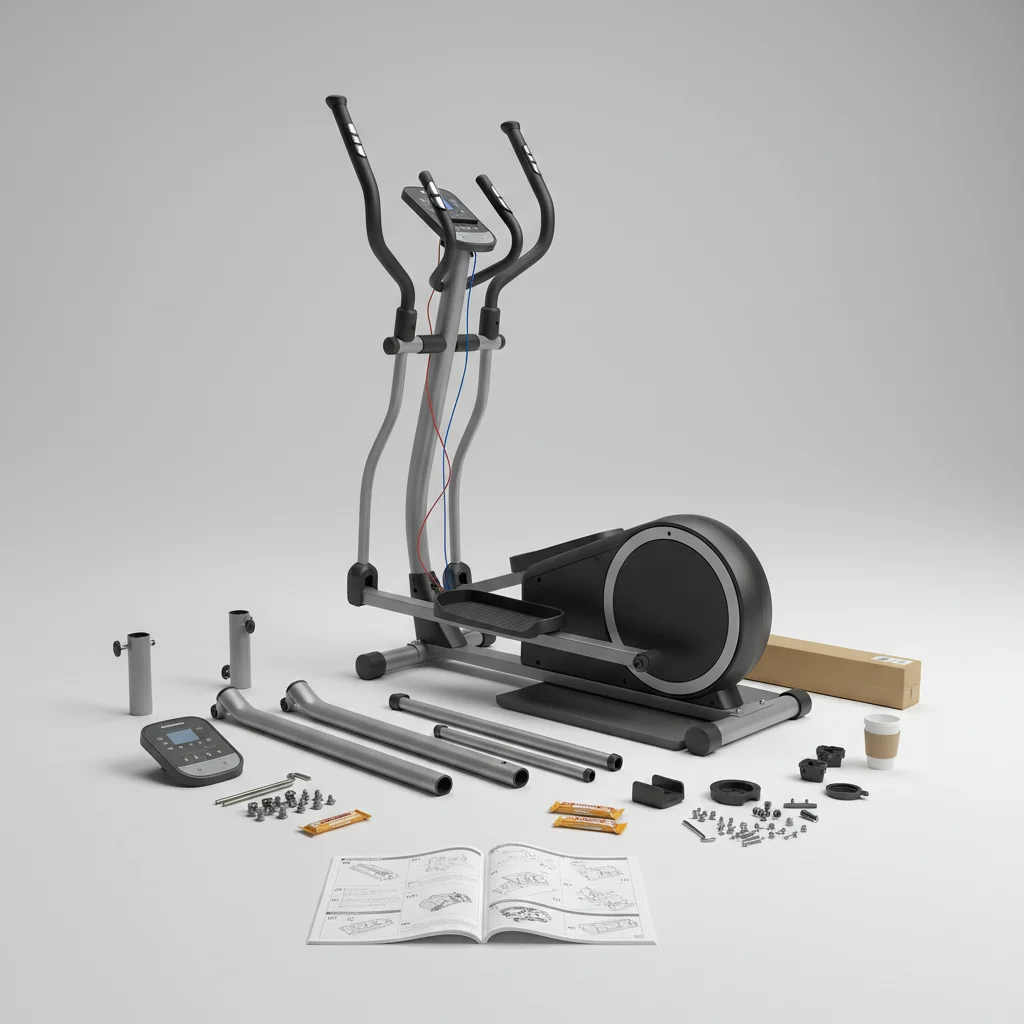
Assembling an elliptical trainer typically takes between 60 to 120 minutes for most home users. This timeframe can vary significantly based on the model’s complexity, the clarity of the instructions, and your prior experience with similar tasks. While some compact models might be ready in under an hour, more advanced machines with numerous components and intricate wiring could extend the process to two hours or more.
Factors Influencing Assembly Duration
Several elements contribute to how long it takes to assemble your new elliptical. The number of parts, for instance, plays a crucial role; a machine with fewer pre-assembled components will naturally require more hands-on time. The quality and detail of the instruction manual are also paramount. Clear, step-by-step diagrams and well-written text can drastically reduce confusion and speed up the process, whereas vague or poorly translated instructions can lead to frustrating delays.
Furthermore, the availability of proper tools can impact your assembly time. While most ellipticals come with basic wrenches and screwdrivers, having your own set of quality tools, such as a socket wrench or a power drill with appropriate bits, can make the job much quicker and easier. Finally, having a second person to assist can cut down assembly time, especially when dealing with heavy or awkward components like the main frame or console mast.
Common Assembly Challenges and Solutions
One frequent challenge during elliptical assembly is identifying all the parts correctly. Many models have similar-looking screws or bolts, making it easy to mix them up. To avoid this, lay out all components and hardware in an organized manner, matching them against the parts list in the manual before you begin. Another common issue is difficulty aligning holes for bolts, particularly with the main frame or pedal arms. Patience and a slight jiggle of the components can often help them fall into place. Sometimes, a rubber mallet can be used gently to tap parts into alignment, but always exercise caution to avoid damage.
Step-by-Step Assembly Overview
|
Our Picks for the Best Elliptical Trainer in 2026
As an Amazon Associate I earn from qualifying purchases.
|
||
| Num | Product | Action |
|---|---|---|
| 1 | Sunny Health & Fitness Cardio Climber Stepping Elliptical Exercise Machine for Home with 8 Levels of Magnetic Resistance, Performance Monitor, Full Body Workout |

|
| 2 | JLL Smart Mini Elliptical – Low-Impact Cardio, Quiet Magnetic Resistance (8 Levels), Compact for Home or Office, LCD Display, Bluetooth SunnyFit App Compatible |
|
| 3 | Under Desk Elliptical Machine, Electric Elliptical as Seen on TV for Seniors Adults with 15 Adjustable Speed, Quiet & Portable Electric Seated Pedal Exerciser with Remote Control & 5 Auto Mode |
|
| 4 | Under Desk Elliptical Machine, Electric Seated Pedal Exerciser, Min Leg Exerciser with Remoter, 12 Level Speeds, Forward & Reverse Direction, Manual & Auto Mode for Home Office |
|
| 5 | Cubii JR1, Under Desk Elliptical, Under Desk Bike Pedal Exerciser, Seated Elliptical, Work from Home Fitness, Mini Elliptical Machines for Home Use, Cubii Exerciser for Seniors, Desk Exercise |
|
| 6 | Under Desk Elliptical Machine, Electric Elliptical Leg Exerciser While Sitting for Seniors with Upgraded 15 Speeds & 12 Auto Mode, Forward & Reverse Direction, Quiet Portable Seated Pedal Exerciser |
|
| 7 | Elliptical Exercise Machine for Apartments and Homes,8 Levels of Magnetic Resistance,15.5-inch Stride Elliptical Machine, and Supports Users up to 400 pounds Elliptical Training Machines; |
|
| 8 | Under Desk Elliptical Machine, Upgraded 6 Adjustable Resistance &15 Speeds Electric Elliptical Leg Exerciser while Sitting for Seniors with Forward & Reverse Direction, Touch Screen and Remote Control |
|
| 9 | Under Desk Elliptical Machine, Electric Ellipse Leg Exerciser for Senior, Quiet and Compact Electric Seated Pedal Exerciser for Home with Display Monitor, Remote Control and 12 Adjustable Speeds |
|
| 10 | Under Desk Elliptical Machine, Electric Elliptical Leg Exerciser for Seniors Fully Assembled, Quiet & Portable Electric Seated Pedal Exerciser with Remote Control & 12 Adjustable Speeds |
|
While specific steps vary by model, a general assembly process for an elliptical trainer involves several key stages. First, you’ll typically attach the stabilizer bars to the main frame. Next, the upright post or console mast is secured. Following this, the pedal arms and handlebars are usually installed, often requiring careful connection to internal drive mechanisms or resistance cables. Finally, the console and any shrouds or covers are put into place, and all connections are double-checked for security. Always refer to your specific model’s manual for precise instructions.
- Unpack all components and verify against the parts list.
- Attach front and rear stabilizer bars to the main frame.
- Secure the upright post/console mast to the main frame.
- Install the pedal arms and connect them to the drive system.
- Attach the handlebars and any associated wiring.
- Mount the console and connect all necessary cables.
- Perform a final check of all bolts and connections for tightness.
Tips for a Smoother Assembly Experience
To ensure your elliptical trainer assembly goes as smoothly as possible, prepare your workspace in advance. Clear a large, open area, preferably near where the elliptical will ultimately reside, to avoid having to move it far after assembly. Read the entire instruction manual from start to finish before touching any parts; this gives you a comprehensive understanding of the process. Organize all hardware into separate piles or containers, labeling them if necessary, to prevent confusion. Don’t overtighten bolts until instructed, as some components may need slight adjustments before final tightening.If you encounter any difficulties, many manufacturers provide online video tutorials or customer support lines that can offer valuable assistance. Remember, taking your time and following the instructions carefully will lead to a safely and correctly assembled machine, ready for your workouts.
